Transform Your Space: A Step-by-Step Guide to Faucet and Fixture Installation
When it comes to home improvement, few projects can have as immediate and impactful a result as faucet and fixture installation. Whether you’re upgrading your kitchen, refreshing your bathroom, or simply replacing an old, leaky faucet, this task can enhance both the functionality and aesthetic of your space. In this guide, we’ll walk you through the process step-by-step, ensuring you have all the information you need to tackle this project with confidence.
**Understanding the Importance of Faucet and Fixture Installation**
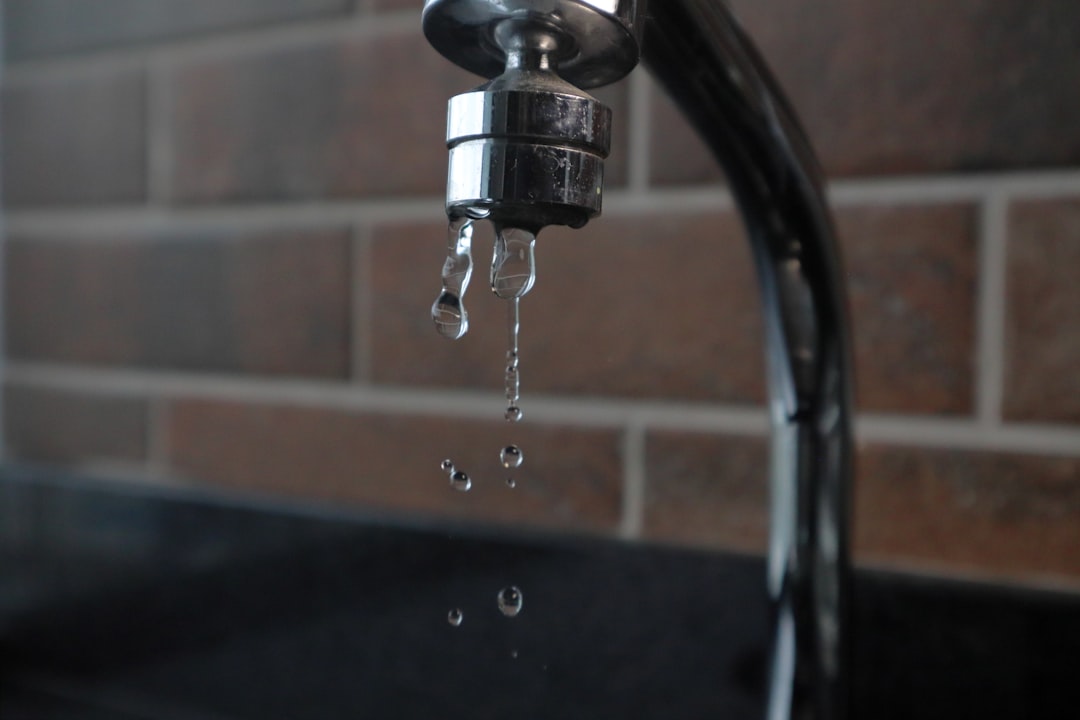
Faucets and fixtures are not just functional elements; they are also key design features in your home. A stylish faucet can elevate the look of your kitchen or bathroom, while a well-installed fixture ensures that you won’t face leaks or water damage down the line. Moreover, with the rise of eco-friendly options, choosing the right fixtures can also contribute to water conservation efforts.
**Step-by-Step Plan:**
Step 1: Gather your tools and materials, including a new faucet, basin wrench, plumber’s tape, and a bucket.
Step 2: Shut off the water supply to avoid any spills during installation.
Step 3: Remove the old faucet by disconnecting the water lines and unscrewing it from the sink.
Step 4: Install the new faucet according to the manufacturer’s instructions, ensuring all connections are secure.
**Step 1: Gather Your Tools and Materials**
Before you dive into the installation, make sure you have all the necessary tools and materials at hand. You’ll need a new faucet, a basin wrench for tight spaces, plumber’s tape to ensure a watertight seal, a bucket to catch any residual water, and possibly a screwdriver or adjustable wrench depending on your specific setup. Having everything ready will streamline the process and minimize frustration.
**Step 2: Shut Off the Water Supply**
This step is crucial. Locate the shut-off valves under your sink and turn them clockwise to stop the water flow. If you don’t have individual shut-off valves, you may need to turn off the main water supply for your home. Once the water is off, turn on the faucet to relieve any pressure and ensure no water will come out during the installation.
**Step 3: Remove the Old Faucet**
Now it’s time to say goodbye to your old faucet. Start by disconnecting the water supply lines. Use your basin wrench to loosen the nuts that hold the faucet in place. Once the nuts are removed, you can lift the old faucet out of the sink. Be prepared for some water to spill out, which is why having that bucket handy is a smart move.
**Step 4: Install the New Faucet**
With the old faucet out of the way, it’s time to install your new one. Follow the manufacturer’s instructions closely, as different models may have unique requirements. Generally, you’ll place the new faucet into the mounting holes, secure it from underneath with nuts, and then reconnect the water supply lines. Don’t forget to use plumber’s tape on the threads of the water lines to prevent leaks.
**Testing Your Installation**
Once everything is connected, it’s time to turn the water supply back on. Slowly open the shut-off valves and check for any leaks around the connections. Turn on the faucet and let the water run for a minute to clear out any debris from the lines. If everything looks good, congratulations! You’ve successfully installed your new faucet.
**Final Thoughts**
Faucet and fixture installation may seem daunting at first, but with the right tools and a clear step-by-step plan, it can be a rewarding DIY project. Not only will you save money on hiring a plumber, but you’ll also gain a sense of accomplishment by improving your home yourself. Plus, the right faucet can transform your space, making it more functional and stylish. So roll up your sleeves, gather your materials, and get started on this home improvement journey!